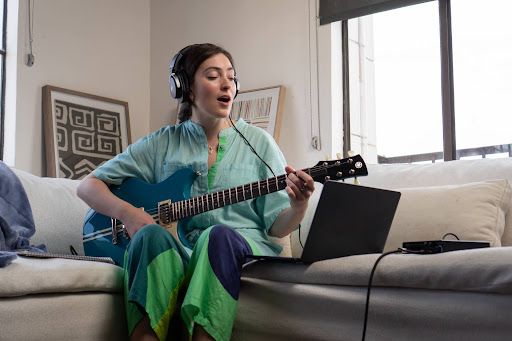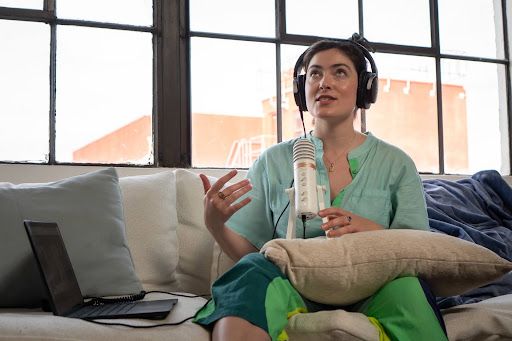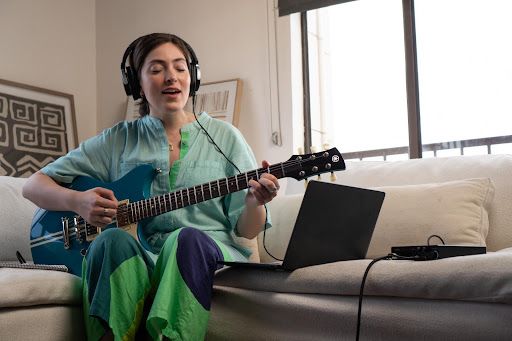
Recording vocals in Cubase gives you a structured way to capture, monitor, and review vocal performances within your music project. To record vocals in Cubase, you connect a microphone to an audio interface, select that interface's driver in Studio Setup, create a mono audio track, and set its input routing to your mic input. From there, you set your level on the interface, turn on monitoring, record-enable the track, and press record.
This guide explains how to record vocals in Cubase, from connecting your microphone and configuring the audio driver to recording and reviewing your vocal takes.
What Equipment Do I Need for Recording Vocals in Cubase?
A typical Cubase vocal recording setup requires a microphone, audio interface, XLR cable, headphones, pop filter, computer, and Cubase.
- Microphone: Choose a suitable microphone to capture your vocal performance clearly and consistently during recording.
- Audio Interface: Connect your microphone to your computer and route the incoming vocal signal into Cubase.
- XLR Cable: Use an XLR cable to connect the microphone securely to the audio interface for recording.
- Headphones: Monitor your vocals and backing track clearly while recording without allowing playback to spill into the microphone.
- Pop Filter: Position a pop filter between you and the microphone to manage plosive sounds during vocal performances.
- Computer and Cubase: Use a compatible computer running Cubase to record, edit, arrange, and manage your vocal tracks.
If you're setting up Cubase for the first time, install and activate it before connecting your recording gear. Follow the How to Download Cubase AI 15 guide to install Cubase and prepare your system for vocal recording.
How to Record Vocals in Cubase
The basic steps to record vocals in Cubase involve connecting your equipment, selecting the audio driver, configuring inputs and outputs, creating a mono track, setting the recording level, monitoring your voice, and recording the take.
Step 1: Connect Your Microphone and Audio Interface
Before plugging anything in, turn your headphone volume and the interface's gain knob all the way down. Connect the interface to your computer and install the manufacturer's driver if one is provided.
Next, connect your microphone to the interface's mic input with an XLR cable, then plug your headphones into the interface. If you're using a condenser mic, switch on phantom power (+48V) only after the mic is connected, and switch it off before unplugging.
Before recording, confirm that the interface receives a signal from the microphone.
Step 2: Select Your Audio Driver in Cubase
The audio driver lets Cubase communicate with your interface. Cubase usually prompts you to choose one at first launch, but you can also select it manually.
Go to Studio > Studio Setup, select Audio System in the Devices list, open the ASIO Driver menu, and choose your interface. Click Switch to confirm.
On Windows, use the ASIO driver specifically developed for your audio interface when available. If a dedicated driver is unavailable, you can use the Steinberg built-in ASIO Driver.
Step 3: Configure the Input and Output Connections
Configure the input and output connections to route your microphone signal into Cubase and send playback to your headphones or speakers.
Go to Studio > Audio Connections and open the Inputs tab. Check whether a mono input bus is already listed for your microphone input. If not, add a mono input bus and select the audio interface input connected to your microphone.
Next, open the Outputs tab and check whether an output bus is already configured for your headphones or speakers. If not, create an output bus and select the corresponding outputs on your audio interface.
Once configured, check that the microphone signal reaches the selected input and that Cubase playback is routed to your headphones or speakers.
Step 4: Create a Mono Audio Track for Vocals
Go to Project > Add Track > Audio, set the channel configuration to Mono, and name the track something clear, like "Lead Vocal." A single microphone captures one signal, so a mono track matches the source and keeps your vocal centered.
Before recording, check Project > Project Setup for your sample rate, bit depth, and record file type. Common examples include:
- 24-bit / 44.1 kHz
- 24-bit / 48 kHz
Choose your recording settings before you begin and keep them consistent throughout the project.
Step 5: Assign the Microphone Input to the Track
With the vocal track selected, open the Inspector on the left side of the Project window. In the Routing section, open the Input Routing menu and select the mono input bus you created in Step 3.
If you're using the default stereo bus instead, choose the single channel your mic is connected to, such as the left input. Selecting the full stereo bus on a mono track is a common reason a vocal records quietly or not at all.
Step 6: Set the Vocal Recording Level
Set the microphone’s input gain on your audio interface and use Cubase’s meter to monitor the incoming signal without allowing it to clip.
Sing the loudest part of the song at your expected performance volume while watching the track meter.
If the clip indicator lights up, consider lowering the input gain and recording another take. A lower recording level can generally be raised during later processing, while clipping may be difficult to correct.
Step 7: Set Up Vocal Monitoring
Monitoring means hearing your voice in your headphones as you sing. There are three common ways to set it up in Cubase, and each has trade-offs.
- Hardware direct monitoring: Many interfaces have a direct monitoring knob or switch that sends your mic straight to the headphones. It has no noticeable delay, but you won't hear any Cubase effects on your voice.
- Monitoring through Cubase: Click the Monitor button (speaker icon) on the track. You can add effects like reverb to what you hear, but there will be some delay based on your buffer size.
- ASIO Direct Monitoring: If your interface supports it, go to Studio > Studio Setup, select your interface's driver, and enable Direct Monitoring. Monitoring happens in the hardware, but you control it from Cubase.
Use one method at a time. If hardware direct monitoring and Cubase monitoring are both active, you'll hear your voice twice, which can sound doubled or hollow.
You can also choose when Cubase monitoring switches on automatically under Preferences > VST > Auto Monitoring.
Step 8: Set the Project Tempo and Metronome
If you're recording to a click, set your song's tempo in the tempo field on the Transport bar. If you're recording over an existing beat, match the project tempo to that beat.
Turn on the metronome with the click button on the Transport bar. A count-in, or precount, gives you a bar or two to prepare before recording starts, and you can adjust it along with the click sound and level in Transport > Metronome Setup.
Keep the click loud enough to follow but not so loud that it leaks from your headphones into the mic. If you're singing freely without a fixed tempo, you can leave the click off.
Step 9: Enable the Track for Recording
Click the Record Enable button (the round red button) on the vocal track. The track is now armed, and its meter should respond when you sing.
Place the project cursor a bar or two before the section you want to record so you have time to settle in. Saving the project at this point also means your setup is kept if anything goes wrong mid-session.
Step 10: Record and Review Your Vocal Take
Press Record on the Transport bar, sing your part, and press Stop when you're done. Cubase creates a new audio event on the track containing your take.
Play the take back with monitoring switched off and listen for clipping, noise, plosives, or timing issues. If something sounds wrong, adjust your setup and record another pass.
There are a few common ways to record vocals in Cubase, depending on the part:
- Straight takes: Record the full section in one pass, repeating it until you have a performance you're happy with.
- Cycle recording: Set the left and right locators around a section and enable cycle mode to record several takes back-to-back.
- Punch in and punch out: Set a range around a single line or word, so Cubase only records within that range, leaving the rest of the take untouched.
Pro Tips to Make Your Vocal Recording Sound Better in Cubase
Most of the differences between an average vocal and a clean one usually come from habits around the recording itself. These are commonly used starting points, not fixed rules, so adjust them to your voice and space.
- Choose a quieter, softer spot: Hard, bare walls reflect sound back into the mic. Recording near curtains, a couch, or a closet full of clothes can reduce room echo without dedicated acoustic treatment.
- Find a consistent mic distance: Many singers start roughly 6 to 12 inches from the mic, with the pop filter in between. Staying at a similar distance helps keep your tone and level consistent from take to take.
- Record the vocal dry: Effects added to a track's inserts change what you hear but aren't printed into the recorded file by default. Recording dry gives you more flexibility when mixing.
- Build a comfortable headphone mix: If you can hear yourself clearly against the backing track, you'll usually sing more confidently and in tune. A touch of reverb on the monitor signal can help, as long as the added delay stays manageable.
- Record more than one take: Having several passes gives you options later, especially for difficult lines.
- Warm up and take breaks: Your voice can tire during long sessions, so short breaks tend to keep takes more consistent.
- Label and save as you go: Clear track names and regular saves make it much easier to find the right takes when you start editing.
Troubleshoot Common Vocal Recording Problems in Cubase
Most vocal recording issues trace back to routing, levels, or monitoring. This table covers common problems and the first things to check.
| Problem | Likely Cause | What to Try |
|---|---|---|
| No signal on the track meter | Wrong driver, input bus, or device port selected | Check the ASIO driver in Studio Setup, the Device Port in Audio Connections, and the track's Input Routing |
| Condenser mic isn't picking up sound | Phantom power is off | Switch on +48V on the interface after the mic is connected |
| No input on macOS | Cubase doesn't have microphone permission | Allow Cubase microphone access in your macOS privacy settings, then restart Cubase |
| Vocal sounds distorted or crackly | Input gain is too high | Lower the gain on your interface and re-record; the Cubase fader won't fix a clipped input |
| Noticeable delay in your headphones | Buffer size is too large for monitoring | Lower the buffer size, or use hardware or ASIO Direct Monitoring |
| Hearing yourself twice, or a hollow sound | Two monitoring paths are active | Turn off either hardware direct monitoring or the track's Monitor button |
| Clicks, pops, or dropouts during recording | Buffer size is too small for your computer | Raise the buffer size slightly and close other apps |
| Vocal only in one ear | Stereo track or stereo bus used for a mono mic | Record on a mono track with a mono input bus |
| Click track can be heard in the recording | Headphone or click level is too loud | Lower the click and headphone level, or use closed-back headphones |
What to Do After Recording Your Vocals in Cubase
Once you have your takes, the next step is editing, cleaning up the performance before it goes anywhere near a mix. If you have recorded several takes, choose the one you want to keep. If no single take works all the way through, comping lets you combine the best sections into one performance.
From there, trim silence, remove unwanted breaths or noises, and add short fades where edits meet. Some artists also apply pitch or timing correction at this stage, depending on the style.
With a clean, edited vocal, you're ready to mix your vocals with EQ, compression, and effects so they sit clearly in the song. When the full mix is finished, mastering prepares the track for release.
Turn Your Vocal Ideas Into Tracks With Cubase AI
Ready to build your vocal recording workflow? Yamaha Creator Pass includes Cubase 15 AI in the Growth and Pro Pass. Subscribe to Yamaha Creator Pass today and start creating, recording, and producing your music with Cubase AI.
FAQs
Can you record vocals directly into Cubase?
Yes. Cubase records vocals onto audio tracks from any microphone input it can access through your audio driver, whether that's an audio interface, a USB microphone, or your computer's built-in input. Once the input is routed to a record-enabled track, you can record straight into your project.
What type of audio track should I use for vocals in Cubase?
A mono audio track is the usual choice for a single vocal microphone, since one mic captures one signal. Stereo tracks are generally used for sources recorded with two microphones or stereo instruments.
How do I hear my voice while recording in Cubase?
You can click the Monitor button on your vocal track to hear your voice through Cubase, or use your interface's direct monitoring feature. Monitoring through Cubase lets you hear effects but adds some delay, while direct monitoring has no noticeable delay but doesn't include Cubase effects.
How do I reduce latency when recording vocals in Cubase?
Lowering the buffer size in your audio driver settings reduces the delay you hear while recording. Using the ASIO driver made for your interface, enabling hardware or ASIO Direct Monitoring, and avoiding heavy plugins on the vocal track while recording can also help.
How do I prevent background noise when recording vocals in Cubase?
Recording in a quiet space, turning off fans or appliances, and keeping a consistent distance from the mic all help reduce background noise. Setting your gain carefully matters too, since boosting a very quiet recording later also raises any noise captured with it.
Do I need an audio interface to record vocals in Cubase?
Not necessarily. A USB microphone or your computer's built-in input can record into Cubase, but an audio interface typically offers better sound quality, lower latency, phantom power for condenser mics, and more reliable monitoring.